Invalid email addresses cost more than a few bounced messages. They waste send volume, distort campaign reporting, weaken inbox placement, and put sender reputation under pressure.
The problem compounds once bad data enters your CRM. It spreads into campaigns, outbound sequences, and lifecycle flows long before you notice the impact.
Email verification helps you catch those issues early.
This guide walks through the email verification process in seven steps, with Listmint turning unclear records, including catch-all emails, into verified outcomes your team can act on with confidence.
Email verification helps confirm that an email address is properly formatted, connected to a real domain, supported by an active mail server, and unlikely to cause delivery issues.
A proper email verification process goes beyond simple checks. It confirms the domain is real, the mail server is active, and the address will not lead to unnecessary bounces.
It is not only about removing invalid emails. It helps improve deliverability, keeps your list clean, and shows which contacts are actually worth using in campaigns.
Confusion happens when teams treat an email verification service as basic validation, even though it does far more.
Email validation focuses on basic checks. It looks at structure, runs a syntax check, and flags syntax errors or invalid characters in an email address.
Email verification goes further. It reviews the domain, checks how the mail server behaves, and identifies risk signals such as disposable inboxes or catch-all patterns that affect email deliverability. Even a well-formatted address can fail if the domain is broken or the inbox does not work.
It also separates list verification from user confirmation. In signup flows, a verification email is sent, and the user clicks the email verification link to prove access, which marks the address as email verified for an actual user.
List verification answers a different question. It helps your team verify emails before sending, based on deliverability and data quality, not user access.
You see the impact when it’s time to send. Validation looks at the input. Verification helps you avoid bad records that lead to wasted sends and problems down the line.
The email verification process is not something your team needs technical knowledge on. In practice, you prepare your list, run it through a verification tool, and use the results to decide who to contact and who to suppress.
Start with the list your team plans to use. That usually comes from CRM exports, CSV files, lead lists, product signups, re-engagement segments, or outbound prospect lists.
In most cases, this happens right before a campaign or a list cleanup. A growth or RevOps team will export contacts from their database and run bulk verification before sending email campaigns.
You may also deal with new data coming in through signup flows, where a user submits an email. That is where real-time verification fits, but for this step, the focus is on the list you already have.
Keep the list focused on a clear use case. A re-engagement send, an outbound push, or a content marketing campaign all require different segments. Cleaning everything at once creates noise and slows down decision-making.
A clean starting list makes the rest of the process faster. It also reduces wasted send volume and avoids issues that show up later in email marketing performance.
Once the list is ready, upload it to Listmint for bulk verification or connect it through an email validation API if the data comes from signup flows or product forms.
For existing lists, teams usually upload a CSV file to verify email addresses in one pass. That is the fastest way to process large volumes before a campaign goes out. Most email verification tools support this, but Listmint handles the full check behind the scenes without extra setup.
For ongoing data, use API integration. A real-time API checks emails as they enter your system, so bad data never builds up in the first place. This works well for product signups, lead forms, and any flow where data quality matters from day one.
At this stage, your team is not running checks manually. The system handles the process while you focus on getting a usable output from the list.
After you upload the list, Listmint runs multiple verification methods on each record without any manual effort from your team.
It starts with formatting, then confirms the domain exists and that the mail server is set up to receive messages. That includes validating mail exchange records and confirming there is a valid MX behind the domain.
From there, the system checks how the email server responds. An SMTP check helps confirm if the address can receive mail, while additional checks handle cases where the email server limits or obscures responses.
Listmint also surfaces risky email types that affect deliverability, such as disposable domains, temporary addresses, and outdated records that can lead to weaker campaign results.
Catch-all behavior is handled as part of the same process in real time. No test emails and no delays, which is where many tools struggle.
All of this happens in one pass. Your team does not need to manage DNS checks, SMTP checks, or separate tools. The output is a set of results you can review and act on in the next step.
Create a free account on Listmint and start verifying emails to get 50%+ more valid leads.
Once the check is complete, review how each address is classified. The value here comes from how clear the results are and how easy it is to act on them.
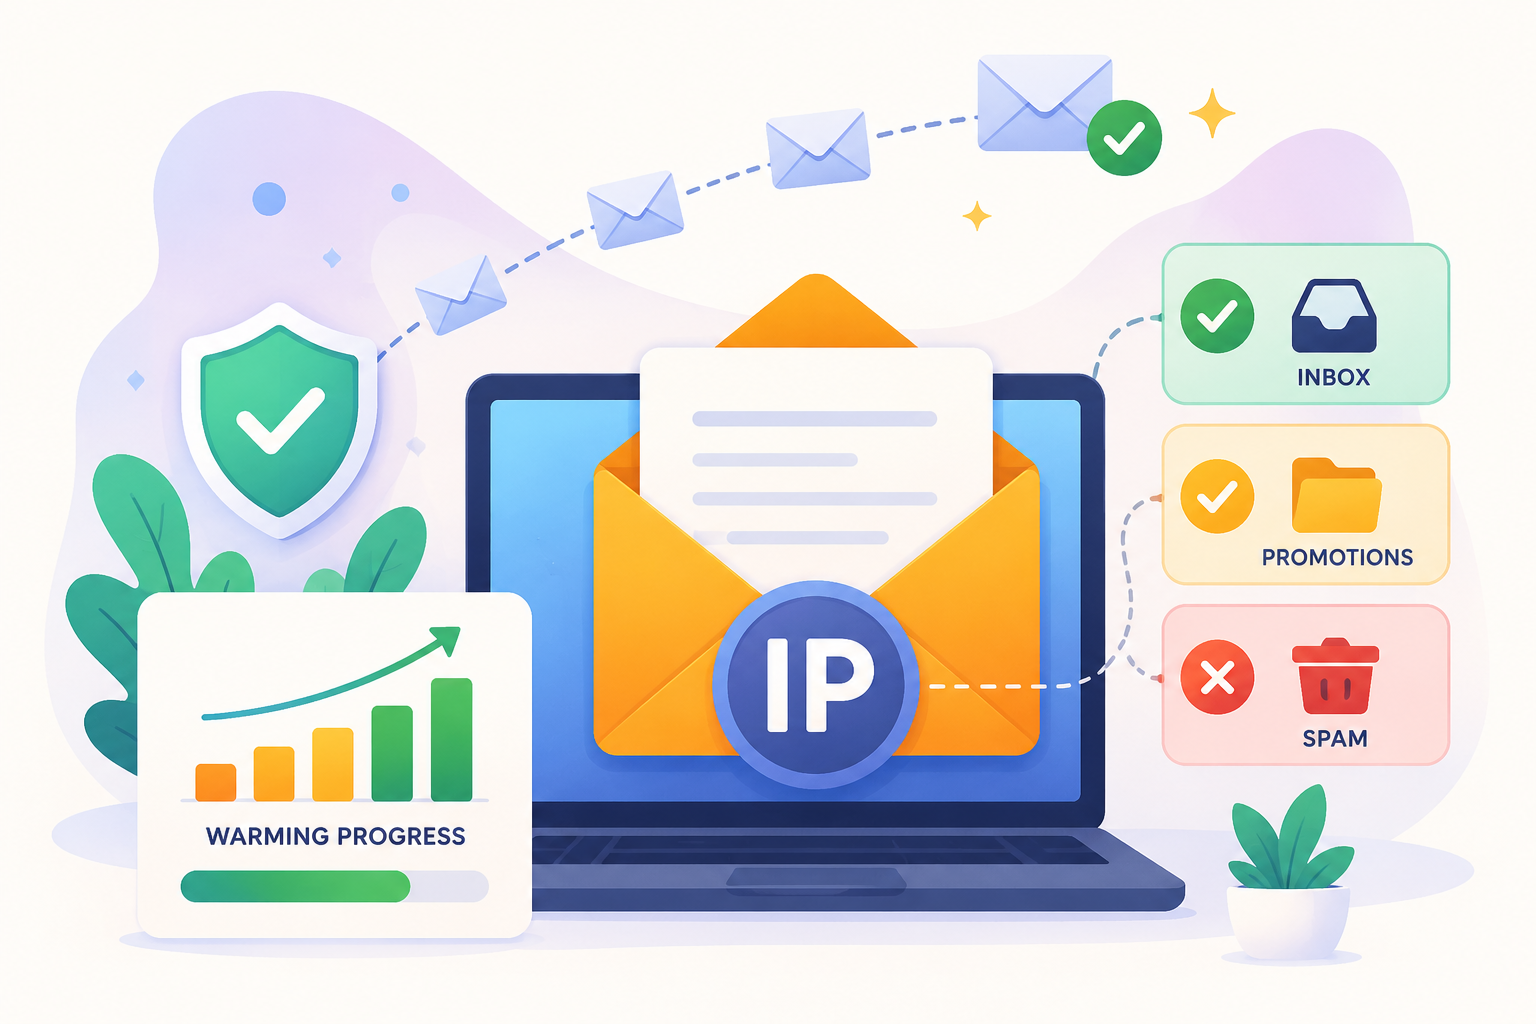
Listmint provides clear statuses such as valid, invalid, catch_all_valid, and catch_all_invalid. Each status tells you if an address is safe to use or needs to be removed.
Valid email addresses are ready for sending. Invalid email addresses should be suppressed to avoid bounces and wasted volume.
Catch-all results are no longer unclear. With Listmint, they are classified as catch_all_valid or catch_all_invalid, so you can treat them like any other verified record.
Many email verification tools stop at labels like “unknown” or “accept-all.” That leaves your team guessing what to do next.
Clear statuses remove that uncertainty. Your team gets accurate results that support a decision right away.
When you’re done reviewing the statuses, the next step is to split the list into clear groups based on what each result means.
Send to valid contacts without hesitation. These records are least likely to create bounce rates or lead to undeliverable emails.
Suppress invalid contacts. Keeping them in your list leads to email bounces, wasted send volume, and a higher risk of landing in the spam folder.
Treat catch_all_valid the same as valid contacts. These addresses have been verified and can be included in your campaigns.
Suppress catch_all_invalid the same way you would suppress invalid contacts. These records are not safe to use.
Apply your campaign rules to any remaining risky email types. This includes disposable domains, temporary addresses, or role-based emails based on your workflow.
This step directly affects deliverability. Clear segmentation reduces risk and keeps your campaigns focused on contacts that can actually receive your messages.
After segmentation, move the cleaned list back into the systems your team uses every day.
Update your CRM first. Remove invalid records, tag risky segments, and keep only usable contacts active. That keeps your account data aligned with what your team can actually use.
Sync the clean segments into your email campaign tools and outbound tools. Sales and marketing efforts depend on accurate lists, especially when sending at scale.
Use the updated data in onboarding flows and lifecycle campaigns. New users, trial accounts, and re-engagement sequences all benefit from cleaner inputs.
Email service providers respond to the quality of your list. Cleaner data leads to higher inbox placement and more stable campaign performance. Over time, that means more dependable results from your email marketing efforts.
Email data does not stay clean for long. People change jobs, inboxes get abandoned, and domains change. A list that performed well a few months ago can start producing bad email addresses and unexpected email bounces.
Before any major send, especially re-engagement campaigns or older lists, run regular verification. It is a crucial step to control bounce rates and maintain strong deliverability rates.
Most teams re-verify their lists on a schedule or right before a high-volume send. It helps catch contacts that are no longer active or have changed since the last check.
Skip this step, and your list slowly degrades. It may look fine on the surface, but performance starts to slip as outdated contacts pile up.
Email verification is harder when the mail server does not respond clearly. An SMTP check might accept a message, but that does not guarantee the address exists.
Catch-all domains introduce uncertainty. The server accepts almost any address, even if no actual user inbox exists. That makes it difficult to rely on standard verification methods alone.
Security measures also limit visibility. Many mail servers block or obscure responses to prevent abuse, which makes it harder to return accurate results.
This is where many tools fall short. They return unclear statuses, which forces your team to guess what to do next. Those gaps lead to poor deliverability, missed opportunities, or avoidable risks.
Listmint addresses this problem by verifying catch-all emails in real time and returning clear outcomes instead of leaving them unknown.
Strong email verification comes down to doing things at the right time and staying consistent. Catch bad data early and keep your list from degrading over time. These best practices support better deliverability, cleaner reporting, and a stronger sender reputation.
Run proper email verification before any campaign goes out. This step removes invalid emails, confirms valid email addresses, and reduces the risk of hitting the spam folder.
A common case is a re-engagement campaign sent to an older list. If your team sends to 50,000 contacts without checking the data first, bounce rates spike and spam complaints follow.
Clean data helps you land in the inbox more often and keeps campaign performance predictable. It also helps improve deliverability over time. One of the several key benefits is consistency, because your metrics are not affected by invalid or outdated records.
Use real-time verification when a user submits an email during a sign-up process or account creation. A real-time API checks each entry as it comes in, so bad data never reaches your system.
If someone enters a disposable email during signup, the system can flag or block it right away. That keeps temporary and unreliable addresses out of your database.
Real-time validation prevents bad data from spreading into outbound campaigns, onboarding flows, and lifecycle emails. That reduces cleanup work later and keeps your list usable from the start.
Run regular verification on existing databases before large campaigns or outbound pushes. Batch verification helps catch records that have gone stale.
Lists degrade faster than most teams expect. Contacts change jobs, abandon inboxes, or switch providers. A list collected six months ago can already introduce undeliverable emails and higher bounce rates.
Filtering rules also change over time. Lists that once performed well can start to underperform without warning.
Do not treat all risky emails the same. Disposable domains, temporary addresses, role-based emails, and potential spam traps require different handling. Catch-all emails only need special treatment when they have not been verified beyond a basic accept-all result.
Use clear outcomes to guide sending decisions. Send to valid and catch_all_valid contacts, and suppress invalid and catch_all_invalid records.
Clean verification results help reduce poor email deliverability without removing potentially valuable contacts too early.

Most verification tools work fine until the data gets tricky. That’s when the results become unclear, and your team has to figure out the next step on their own.
Catch-all emails are the clearest example. The server accepts the address, but you still do not know if a real inbox exists behind it. Many tools stop at that point and mark it as unknown or accept-all, which is not actionable.
Listmint verifies both standard emails and catch-all emails in real time, without sending test emails. It turns unclear records into verified outcomes your team can act on.
Instead of vague outputs, you get clear statuses such as valid, invalid, catch_all_valid, and catch_all_invalid. That gives you a direct path to send or suppress without second-guessing the data.
Fewer unclear records mean fewer risky sends and more predictable campaign performance.
If verification results still leave your team unsure what to do next, the issue is not your list. It is the lack of clear outcomes, and that risk carries into every campaign you send.
Sign up for Listmint and turn unclear records into verified decisions you can trust before your next campaign goes out.
With most tools, catch-all emails are treated as risky because they cannot confirm if a real inbox exists. With Listmint, catch-all emails are verified and classified as catch_all_valid or catch_all_invalid, which removes the guesswork. You can treat catch_all_valid like valid contacts and suppress catch_all_invalid like invalid ones.
Email verification does an excellent job of catching bad addresses, domain problems, and mail setup issues. It won’t always confirm that a real person is using the inbox, but it gives you a clear sense of whether the address is safe to send to.
A good bounce rate after verification is typically under 2%. Higher rates suggest issues with list quality, outdated data, or incomplete verification. Keeping them low helps maintain your sender reputation and stable deliverability.
You should verify your email lists before every major campaign and recheck older data regularly. Lists degrade over time as people change jobs, abandon inboxes, or switch providers. A common practice is to re-verify every few months or before sending to any large or inactive segment.