Setting up a Simple Mail Transfer Protocol (SMTP) server doesn't always mean building your own mail server from scratch.
For most businesses, it simply means connecting to a trusted SMTP service so your website, application, or email platform can send messages reliably.
If you're searching for how to set up an SMTP server, you've likely reached the point where you need to send transactional emails, marketing campaigns, or other business communications with a dependable setup.
This guide walks you through the entire process, from choosing the right SMTP solution and configuring the settings to securing your domain, testing delivery, and avoiding common setup problems.
An SMTP server is the system responsible for sending outgoing email from your website, application, or email platform to the recipient.
Think of it as the delivery service for your emails. When you send a password reset, order confirmation, contact form notification, or newsletter, the SMTP server accepts the message, passes it to the recipient's email server, and routes it to its final destination.
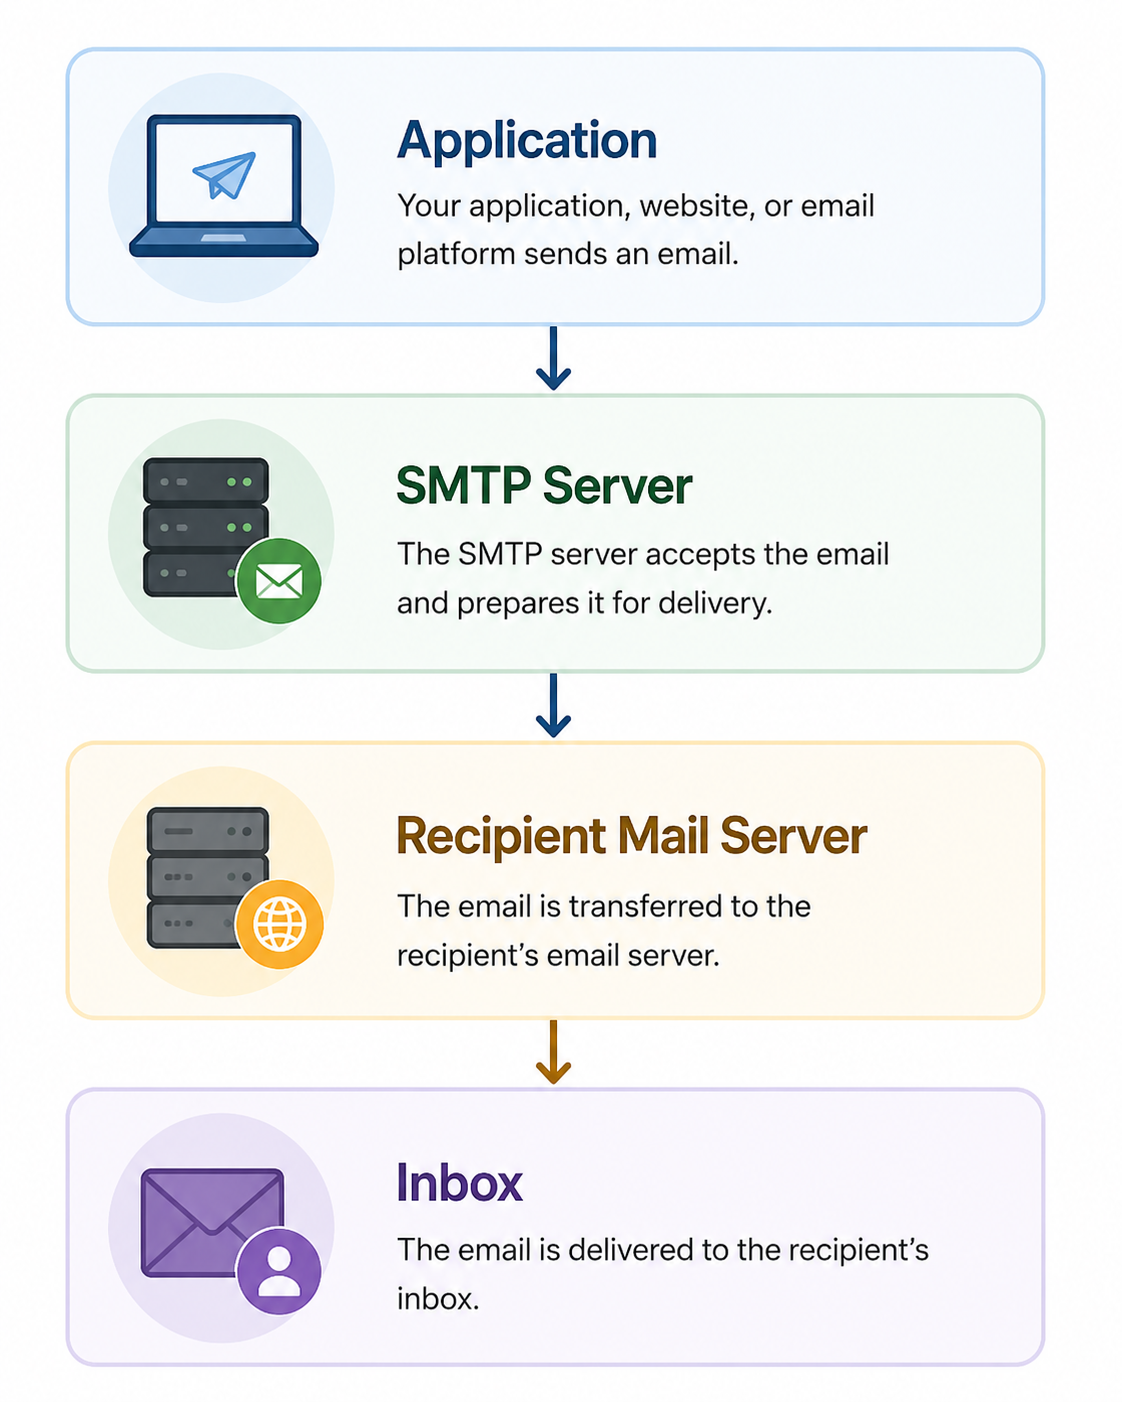
SMTP only handles sending messages. It doesn't manage incoming mail or handle users receiving mail. Those tasks are handled by protocols such as IMAP and POP3, which retrieve emails from a mailbox after delivery.
Understanding this role makes the rest of your email infrastructure much easier to configure, troubleshoot, and maintain.
Setting up an SMTP server goes much more smoothly when you prepare everything first. Taking a few minutes to review your SMTP configuration, gather the required server details, and confirm your DNS settings can help you avoid common setup errors later.
Before you start configuring anything, decide how you want to send email and make sure you have the information your application or website will need to connect successfully.
The first decision is choosing how your business will send email.
A hosted SMTP provider is the best choice for most businesses. The provider manages the sending infrastructure, security updates, and server maintenance, so your team can focus on configuring the connection and sending emails.
This approach works well if you already use an email service provider or prefer cloud-based solutions that require less ongoing maintenance.
Building your own SMTP server gives you complete control over the environment. It can be a good fit for organizations with dedicated IT resources or specialized requirements.
Running a local mail server, however, also means managing updates, monitoring server health, maintaining your sender reputation, and handling troubleshooting yourself.
A hosted SMTP provider is usually the best fit for businesses looking to start sending email quickly. Organizations with dedicated technical resources and a need for complete control over their mail environment may prefer a self-hosted SMTP server.
Before starting the setup, gather the information you'll need to complete the configuration without interruptions.
Have your domain name and SMTP credentials ready, along with administrator access and the email client or application you'll connect to the SMTP service. A self-hosted server also requires server access, a valid SSL/TLS certificate, and your DNS records.
You'll also need the server's IP address. Many businesses use a fixed IP address because it provides a consistent sending identity for email. If your SMTP service uses domain authentication, keep any required private key files available before you begin.
Taking a few minutes to collect these details first makes the setup process much smoother and reduces the chance of missing an important configuration step.
Now that you have everything ready, it's time to configure your SMTP server. This step-by-step tutorial walks through the process in the same order most businesses follow, from choosing an SMTP service to verifying that emails are delivered successfully.
If you're using a hosted provider, you can skip the installation step later and move directly to the configuration.
The first step is deciding how your emails will be sent.
If you're building your own SMTP mail server, you'll need SMTP server software, also known as a mail transfer agent (MTA). The most common options include:
If you don't want to manage your own email server, a hosted SMTP provider is usually the simpler option.
Services such as Amazon SES, Mailgun, SendGrid, and Postmark manage the email-sending infrastructure, so you only need to connect your application using the SMTP credentials they provide.
Some administrators configure hMailServer on Windows Server for internal or specialized environments, although hosted SMTP providers remain the simpler choice for most businesses.
Businesses using a hosted SMTP provider can skip this step because the provider handles the server infrastructure. This section is only relevant for those setting up and managing their own SMTP server.
Install your preferred SMTP software first, whether that's Postfix, Exim, or Sendmail. The installation process typically includes configuring the server hostname, creating the mail accounts you'll use, and setting up the Postfix service or the equivalent service for your chosen software.
Most SMTP applications also generate or ask you to review a configuration file where the basic server information is stored. The exact setup screens vary depending on your operating system and SMTP software.
For example, installations on Windows Server may include a Feature-Based Installation wizard and a Select Components window, while Linux distributions follow a different process.
In most cases, the default values provided during installation are enough to complete the initial setup. You can adjust them later if your environment has specific requirements.
After installing the server or signing up for a hosted provider, the next step is connecting your application or email program to the SMTP service.
Most applications ask for the same SMTP settings:
If you're using an SMTP client, you'll enter these details in its outgoing mail configuration screen. Most hosted providers display these values in your account dashboard, while self-hosted servers use the values you configured during installation.
Some SMTP servers require a default user account for authentication. Review the configuration options before saving your settings so your application connects with the correct credentials.
One part of SMTP setup is choosing the correct port. The port tells your application how to connect to the outgoing SMTP server.
Most businesses should use port 587 because it supports authenticated email submission with Transport Layer Security (TLS) and is the standard choice recommended by many SMTP providers. If your provider asks you to configure a relay host, they'll also tell you which port to use.
Some older systems may still reference the STARTTLS command, which upgrades an existing SMTP connection to an encrypted session before email is transmitted.
Once your SMTP settings are in place, protect the connection before sending email.
Most SMTP providers support TLS encryption, which secures the connection between your application and the SMTP server during email transmission.
TLS encrypts the data in transit, making it much more difficult for someone to intercept usernames, passwords, API keys, or email content.
Some providers also support SSL. Although you'll still see SSL listed in many applications, TLS is the preferred option for modern SMTP connections.
Always use a secure connection when your SMTP provider supports it. Sending email over an unencrypted connection exposes sensitive credentials and message data to unnecessary risk.
After your SMTP connection is working, the next step is proving that your server is authorized to send email for your domain.
Mailbox providers use domain authentication to verify that messages claiming to come from your sender domain are legitimate. Without it, emails are more likely to be questioned or rejected before reaching the recipient's email server.
SPF is a DNS record that tells receiving mail servers which servers are authorized to send email for your domain.
When an email arrives, the receiving server checks that list before deciding whether to trust the message. Emails sent from unauthorized servers may be flagged as suspicious.
DKIM adds a digital signature to every outgoing message. The receiving server uses that signature to confirm the email hasn't been modified after it was sent and that it genuinely came from your domain.
DMARC works with SPF and DKIM to help receiving servers decide how to handle emails that fail authentication. Depending on your policy, messages can be monitored, quarantined, or rejected before reaching their final destination.
Together, SPF, DKIM, and DMARC verify your domain's identity before email is accepted. They help receiving systems recognize legitimate messages from your sender domain, build trust with other mail servers, and improve the chances that email reaches the intended recipient address.
If you send email through multiple services, make sure each one is authorized to send on behalf of the same domain.
When the setup is complete, verify that your SMTP connection is working before sending a test email.
Use your application's diagnostics, your SMTP provider's testing tools, Telnet, or OpenSSL to confirm the connection.
Check that:
If the connection fails, double-check your SMTP credentials and firewall rules. If you're testing on your own machine, you may also need to enter localhost when your application asks for the server address.
A successful connection doesn't always mean your setup is ready. The easiest way to confirm your SMTP configuration is working is to send a test email.
After the message arrives, check the subject line, review the email headers, and confirm that SPF, DKIM, and DMARC authentication passed. If your outgoing mail server provides delivery logs, review them for warnings or failed delivery attempts.
If everything looks good, your SMTP setup is ready to send email messages. Completing this final check helps confirm your configuration is working properly and supports reliable email deliverability.
SMTP problems can still appear, even after you've completed the setup. Configuration errors, missing DNS records, or network restrictions are some of the most common reasons emails fail to send.
The sections below cover the most common SMTP problems and the quickest ways to resolve them.
An authentication failure usually means the SMTP server couldn't verify your login credentials.
Check that you're using the correct username, password, or API key and that the selected authentication method matches your provider's requirements.
For SMTP services that use a default user or dedicated sending account, verify that you're signing in with the correct account. You should also confirm that the account has permission to send email.
A connection timeout usually means your application can't reach the SMTP server.
Start by confirming that the server address and port are correct. Next, review your network configuration and firewall rules to make sure SMTP traffic isn't being blocked.
Some hosting providers and internet service providers (ISPs) also restrict outbound SMTP connections by default.
A successful SMTP connection doesn't always mean the server will accept the message. The server may still reject the email before delivery.
Review the SMTP response returned by your provider. Rejections can occur due to invalid sender information, sending restrictions, unsupported forwarding rules, or attempts to send from unauthorized domains.
When sending from different addresses, confirm that each one is authorized by your SMTP provider.
Authentication problems often point to missing or incorrect DNS records.
Review your SPF, DKIM, and DMARC records to confirm they're published correctly and match your sending service. DNS updates can also take time to propagate after changes are made.
Organizations that send email through several providers or use different addresses should verify that every authorized sending service is included in their DNS records.
Encryption errors usually occur when the SMTP server and your application don't use compatible security settings.
Verify that the selected encryption method matches your provider's requirements and that you're using the correct SMTP port.
Certificate problems, outdated software, or incorrect protocol settings can also prevent a secure connection from being established.
Many SMTP providers limit how many emails you can send within a certain period. Exceeding those limits may temporarily block additional messages or delay delivery.
Review your provider's sending limits if you're sending large volumes of email. This is especially important when your SMTP server routes email through other servers, supports multiple addresses, or serves several applications from the same environment.
Providers that apply restrictions based on IP ranges may reject requests from unapproved addresses, so confirm that your sending server is included in the allowed range.
Setting up your SMTP server is only the first step. Keeping it secure helps protect your email system and reduces the risk of unauthorized use over time.
Start by requiring TLS for all SMTP connections so that outgoing mail is encrypted in transit. Protect SMTP usernames, passwords, and API keys, and replace them periodically, especially after staff changes or suspected credential exposure.
Limit relay access to trusted users and systems, and avoid configuring an open relay. Restricting who can send mail through your server helps prevent unauthorized use and reduces the risk of abuse.
Keep your SMTP software up to date so you receive security fixes and compatibility updates. If you're running an SMTP virtual server, apply updates according to your maintenance schedule and review release notes before deploying major changes.
Make it a habit to review your server logs for repeated authentication failures, unusual sending activity, and unexpected login attempts.
Monitoring these logs can help you spot problems before they affect sending messages. They can also help identify issues that later impact accessing emails if mail services depend on the same server infrastructure.
Finally, whenever your sending setup changes, update your SPF, DKIM, and DMARC records to help keep your domain authenticated.
A successful test email confirms your SMTP setup is working, but it doesn't guarantee you're ready to send a large campaign. Before launching a large campaign, run a final validation to confirm your sending environment is performing as expected.
Begin with a small seed list or an internal test audience before sending to your full list. Confirm that your emails reach the inbox, review the authentication results, and check for unexpected bounce rates or placement in the spam folder.
This gives you confidence that your SMTP email setup is ready for production.
Even a properly configured SMTP server can't prevent hard bounces caused by invalid or outdated email addresses. Sending to bad contacts can reduce campaign performance and damage your sender reputation, even when your SMTP configuration is correct.
Listmint helps you catch those problems before you send. It combines standard SMTP verification with real-time catch-all verification in a single platform, giving you a more complete picture of your email list.
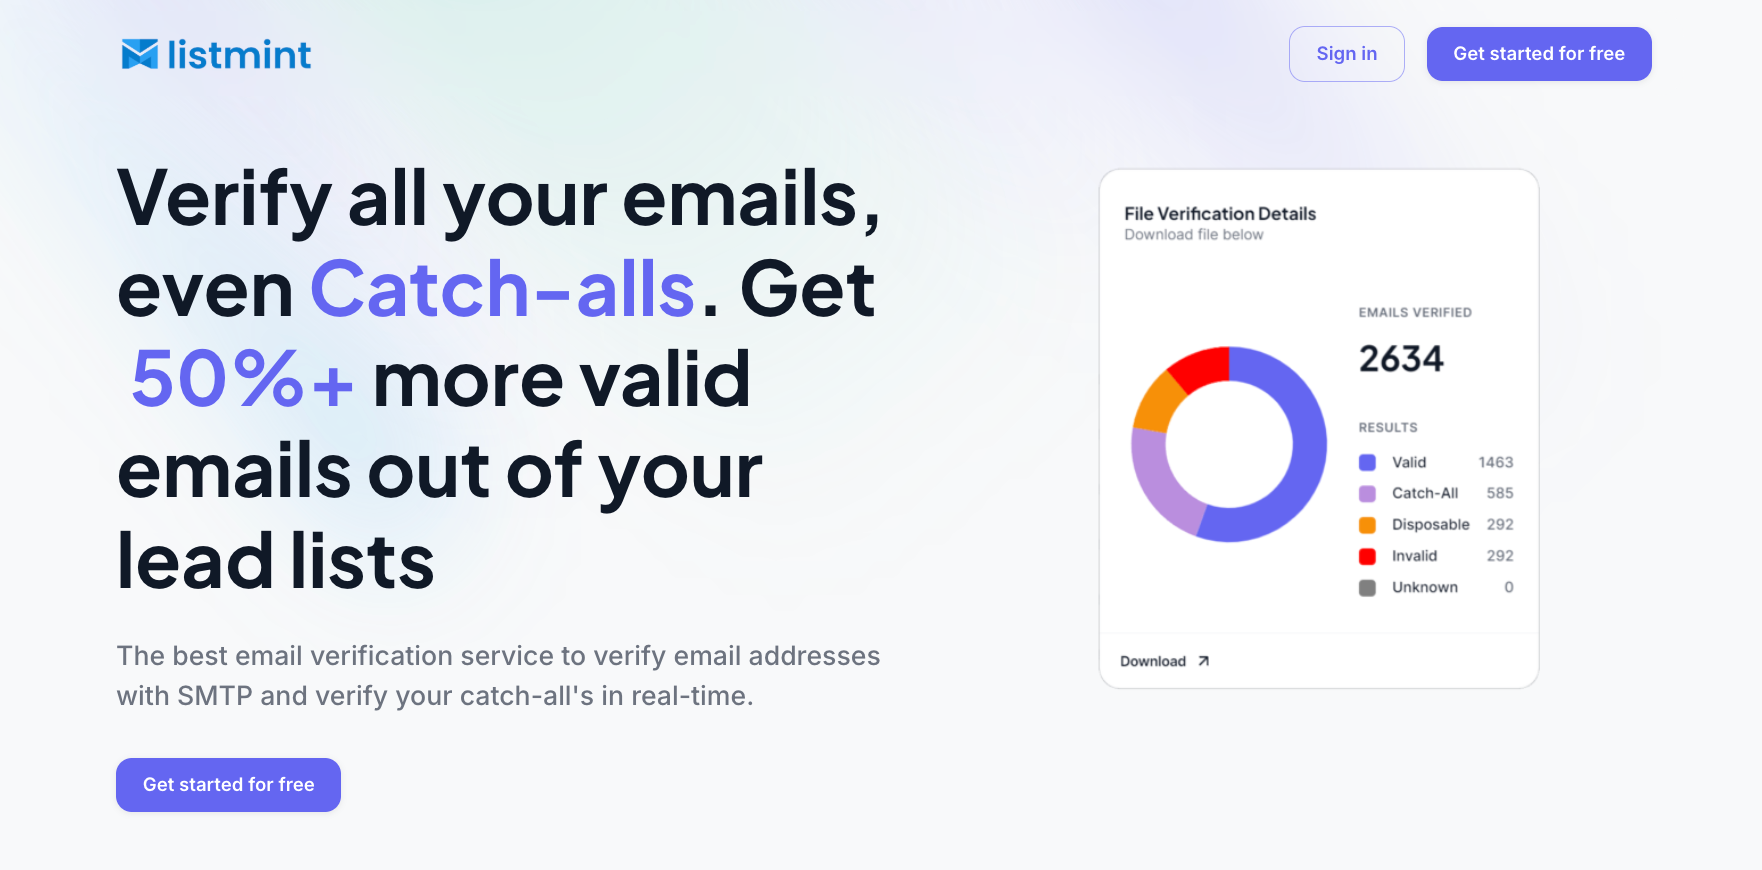
Unlike many verification tools that simply label catch-all addresses as "risky" or "unknown," Listmint verifies them in real time and classifies them as catch_all_valid or catch_all_invalid.
That means you don't have to guess which catch-all addresses are safe to contact or wait up to 48 hours for verification results.
With Listmint, you can:
Listmint has verified more than 1 billion email addresses and reports 99%+ accuracy in SMTP and catch-all verification, helping businesses prepare cleaner email lists before every campaign.
Yes. Many email providers and cloud platforms offer free SMTP services with monthly sending limits. These plans are suitable for testing, personal projects, or low-volume email sending. If your business sends larger volumes of email or requires higher sending limits, better email deliverability tools, and dedicated support, a paid SMTP provider is usually the better choice.
Yes. Gmail can be used as an SMTP server to send email from supported applications and email clients. It's a good option for personal use, testing, or low-volume business email. However, Gmail has sending limits and isn't designed for large marketing campaigns or high-volume transactional email. For those use cases, a dedicated SMTP provider is generally the better option.
A hosted SMTP provider can usually be configured in 15 to 30 minutes if you already have your SMTP credentials and DNS access. Setting up a self-hosted SMTP server often takes several hours or longer because it involves installing software, configuring the server, publishing DNS records, and testing the setup.
For business email, yes. A domain name lets you authenticate your sending domain with SPF, DKIM, and DMARC, which helps mailbox providers verify that your emails are legitimate. Some SMTP services support testing without a custom domain, but using your own domain is recommended for production email.
Yes. You can use the same SMTP server for both transactional and marketing emails if your provider supports both types of traffic. However, many businesses separate them by using different sending domains or SMTP services. This helps protect important transactional emails, such as password resets and order confirmations, if marketing campaigns experience delivery or sender reputation issues.